Though I’m engaged in blogging for two years, I never tried to write posts using any third party tool. Only a few days ago, I've come to know that Windows Live Writer allows to prepare draft post. And after completing the draft, you can publish it on your site!
Why Windows Live Writer?
It’s a good question to start with. Both Blogger and WordPress (or any other blogging platform) have a nice typing interface. You can easily write and publish a post using the default options. So, you may ask – is there any necessity to use Live Writer?
My answer is – YES! Just consider the following points:
- Live Writer provides an interface that almost looks like MS Word.
- It allows you to create table without using HTML (Exclusive Feature)!!
- You can work offline even without connecting to the Internet.
- You can count words, check spelling and so on . . .
Live Writer is fully integrated with WordPress. But it also supports all major blogging platforms like Blogger, TypePad, SharePoint etc. After installing the Writer on your PC and adding your blog account, it downloads the theme of your site including font size, style, layout, categories etc.
So, when you’re writing a post offline, you will feel like writing in your own blog platform. Most importantly, you can also preview the post without net connection! But when you’re writing a post using Blogger or WordPress, it’s impossible!
Where do you get this?
Though Windows Live Writer is completely free, it’s not a default program of Windows. You've to download it from Microsoft and then install on your PC. Actually it contains multiple apps including -
Get Windows Live Installer from Microsoft. It's 1.1 MB in size. Now install it on your system:- Messenger
- Photo Gallery
- Movie Maker
- Toolbar
- Writer
- Family Safety
- Silverlight
First, you've to choose the programs you would like to install from Windows Live. For me, Writer is the only app that I find useful from here. If you need any other app, just tick it. Now press the Install button.
When the installation is complete, you will be asked to set your homepage and search provider. If you don't need to change anything, just unmark the options and hit on the Continue button.
Now you will get the Live Writer in your Start menu. After running the program, you will get the following interface:
Look at the bottom. While writing a post, you will be in the Edit Tab. If you would like to get a preview, then hit on the Preview button.
Adding Blog Account
Look at the Menus. There is a Blog menu. To add your blog account, go to the Blog menu and choose Add blog account . . .
Now choose your desired blog service. Maybe you've to select other blog service option. Press Next button and enter the information as below:
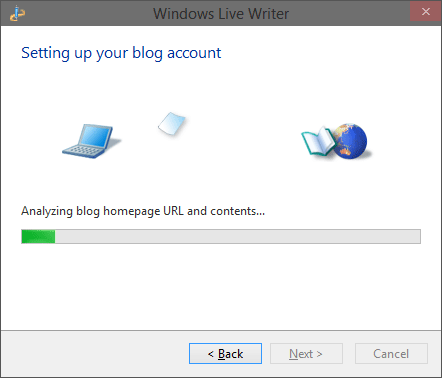
Wait few minutes and let the Writer set up your blog. Writer will download the theme of your blog including categories, font style, text size and other information.
After successfully adding the account, you will see your blog at the top right corner of the Windows Writer.
Using the Writer
Using the Live Writer is very simple. Just after running application, you will be able to start blogging. You can save the post as draft and directly publish it on your site when it's complete.
Though writer is a very handy tool for blogging but naturally you might face some difficulties. As you can't control your site directly from Writer, you must use your blogging platform ultimately. Writer can only help you to create the draft . . .
Wait few minutes and let the Writer set up your blog. Writer will download the theme of your blog including categories, font style, text size and other information.
After successfully adding the account, you will see your blog at the top right corner of the Windows Writer.
Using the Writer
Using the Live Writer is very simple. Just after running application, you will be able to start blogging. You can save the post as draft and directly publish it on your site when it's complete.
- You can add anything from the right sidebar or from toolbar at the top.
- You can choose a label or category from the bottom.
- To add or remove a blog account, use the Accounts option from the Tools menu.
- To edit blog settings, go to Blogs menu > Edit blog settings.
- To create a table, go to Table menu > Insert Table > Enter # of Rows and Columns > Choose Pixels > OK.


Nice post .
ReplyDeleteAm really going to give it a try
It's really useful. But I just use this for creating table only. First I create table using Writer, then I copy the HTML code from the source.
Delete!!!!
ReplyDelete